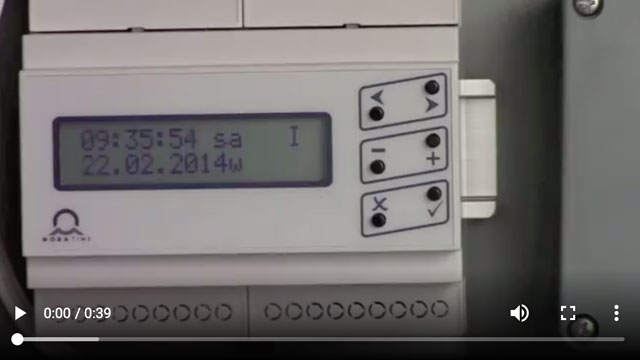
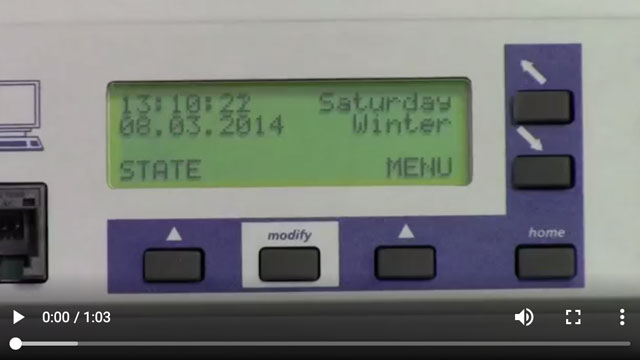
CLOCK CONTROLLER HOW TO VIDEOS
We have created How-to Videos to help you reset your clock controllers – MOBATIME brand, models HN-50, HN-60, or HN-61; and Clock-O-Matic brand TEMPUS clock controllers.
We also provide detailed printed instructions and manuals for your clock controller products upon purchase If you need additional copies, or a digital copy, please let us know. You may also call us at 888-788-4838 for free tech support.
MOBATIME HN-60 and MOBATIME HN-61 CLOCK CONTROLLERS
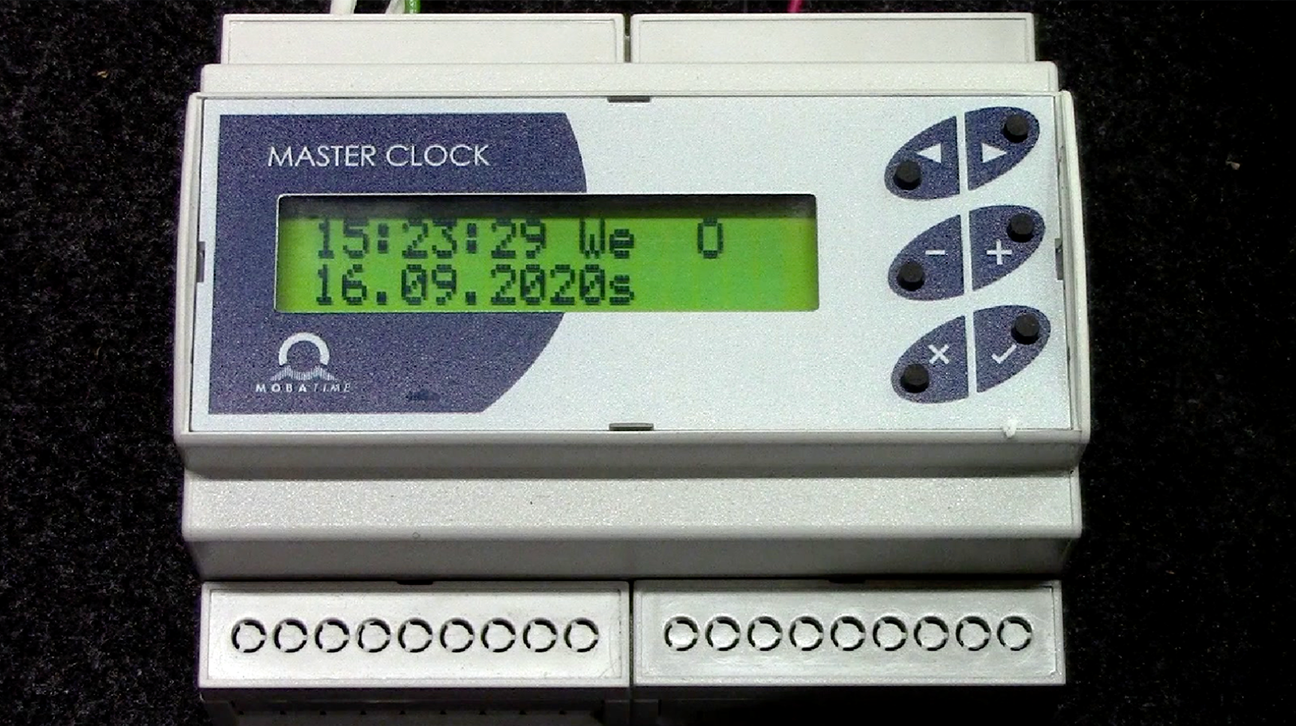
MOBATIME HN-60 HN-61 Clock Controller Instructional Video
Mobatime Automatic Clock Controllers are manufactured with the part numbers HN-60 and HN-61. These models replaced the HN-50.
Both models of HN60/61 series automatic clock controllers are quartz time-based and completely automatic. Both models reset automatically for power interruptions and Daylight Savings, and have a 10-year battery back-up memory; 120v/60hz, .7amp primary voltage. Includes a 7-foot cord & plug., to be plugged first into a surge protector and then into a 110 outlet (European voltage also available). The controllers can operate more than one clock, and connect to each clock with a 12/24 low-voltage control wire. Please note, these controllers are electronic devices and therefore are damaged if exposed to water or moisture (and that is not covered by warranty). Controllers must be placed in a dry & secure location, in a NEMA water-resistant enclosure.
The Mobatime HN60 (aka HN-60) model does not have GPS functionality; the time can experience a ~2 min/year possible drift (easily correctable). Often the HN60 is chosen when the clock controller is easy to access, or the location has personnel on site that can periodically adjust the controller.
The Mobatime HN61 (aka HN-61i) automatic clock controller includes GPS functionality and antenna for absolute time synchronization. This is a good choice for virtually hands-free operation.
Another feature of all products offered by Lumichron: Because there is no regular maintenance required on the clocks we make and sell, we do not sell maintenance contracts. We stand behind our three-year warranty 100%.
This video will instruct you how to use the HN-60 or HN-61 clock controller to activate your Lumichron clock. Let’s get started.
The main screen displays the time and date. The date is in European format, meaning the day is listed first. You can check with your cell phone to see if the current time displayed is accurate. We ship all our controllers preprogrammed to be on-time in your time zone, but occasionally a power surge or similar incident can disrupt the controller’s timekeeping.
If the main screen time is incorrect and needs to be adjusted, press the plus button. You will see the hour display start to blink.
- Use the plus or minus buttons to adjust the hour, then press the right arrow. Use the plus or minus button again to adjust the time shown for the minute. To save your entry, just hit the check button.
If you have a GPS antenna with your controller, it should be synchronized exactly. If not, press the check button as near as you can to the minute change. For example, save 3:00 just as it turns 3:00.
To activate or adjust the time on your display clock, like this unit here, press the right arrow to navigate away from the main screen. This is the Line 1 screen, and is what the controller uses to control the display clock. Note that there is no sensor in the display clock that tells the controller what time the hands are showing- we must enter the hand position in the Line 1 screen so that the controller can adjust the time shown on the display clock.
- You can see that the Line 1 screen is running, but our display clock here is showing the wrong time.
- First, we will stop the clock by pressing the minus button.
- Next, press the plus button to change the settings.
- Take note of the hand position, and adjust the time accordingly. Just like on the main screen, we use the plus or minus button to adjust the display. Once our time matches the hands on the clock, press the check button. The display will read saved, then return to the Line 1 screen.
- To reactivate the display clock, press the minus button.
- Depending on how far off the hands are from actual time, the controller may wait or fast forward. The hands don’t move backwards, so if it is only 20 minutes ahead of actual time, it will be faster if the controller just waits for time to catch up to the time displayed by the hands. Once time catches up, it will automatically go back into running mode.
View our MOBATIME HN-60/61 Clock Controller User Guide in pdf form
CAMPA / CLOCK-O-MATIC CLOCK CONTROLLERS
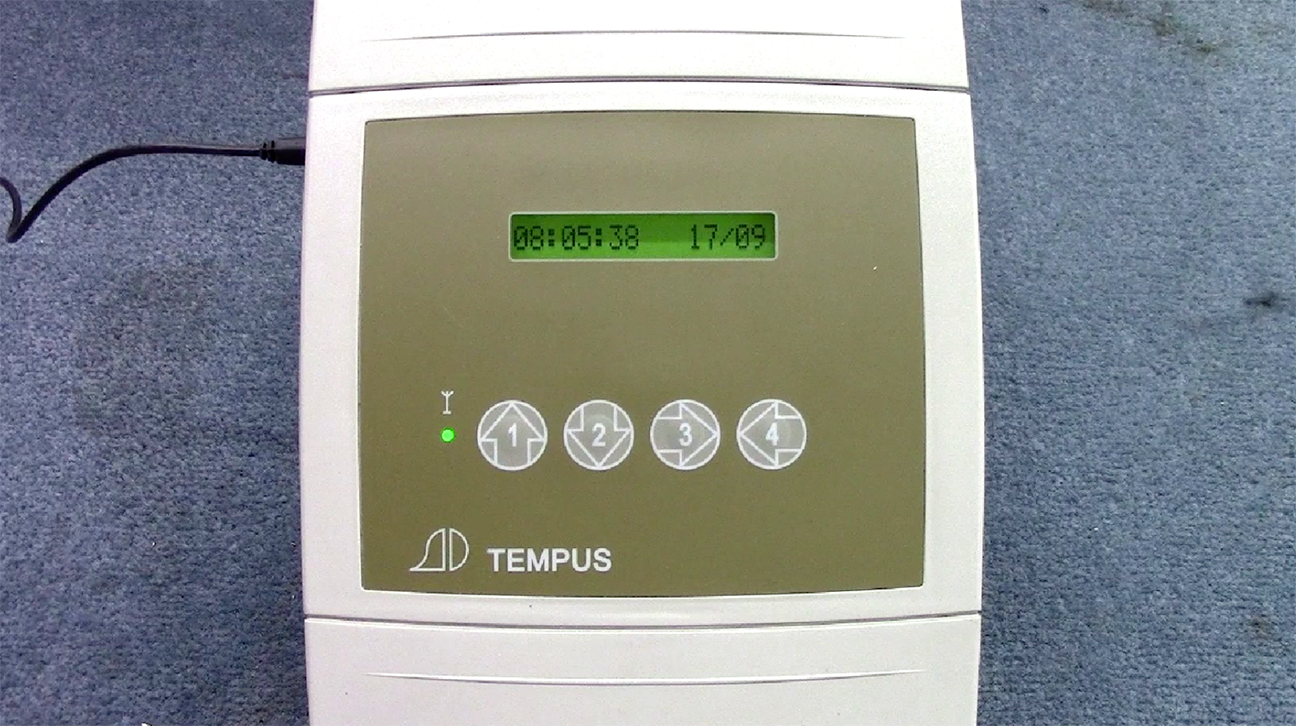
TEMPUS Clock Controller Instructional Video
This is a Tempus Clock Controller, made by Clock-O-Matic. This controller is typically used on large outdoor or tower clocks. This video will instruct you how to reset the hands or set the time on your clock using the Tempus controller, should you find that the clock is displaying the wrong time.
The user interface is quite simple, consisting of four labeled buttons with arrows, and an on/off button on the side.
The main screen displays the time and date. You can check with your cell phone to see if the current time displayed is accurate – we ship all our controllers preprogrammed to be on-time in your time zone, but occasionally a power surge or similar incident can disrupt the controller’s timekeeping.
If the main screen time needs to be adjusted, press the down arrow. To enter the TIME menu, press the right arrow.
- The main screen time will be displayed with the hour blinking. Use the up or down arrows to adjust the hour.
- Press the right arrow to move over to the minutes. Use the up or down arrows to adjust.
- Once the time on the screen is accurate, press the right arrow again. This will save your entry.
If you have a GPS antenna with your controller, it will be synchronized exactly. If not, you should save your time entry as close as you can to when the time changes. For example, save an entry of 3:00 just as it turns 3:00. You can check to see if you have a GPS, refer to video to find where to look.
To set the hands on your display clock, like the unit in the video, press the down arrow until the screen reads TOWER CLOCK.
- Press the right arrow to enter the TOWER CLOCK menu.
- This screen is how the Tempus controls the display clock. We must enter the hands position here so that the controller can adjust the hands accordingly.
- While in the TOWER CLOCK menu, the hands will not move.
- Take note of the hand position, and adjust the time. Just like when adjusting the main time, we use the up or down arrows change the numbers on the screen, and then arrow right to move to the minutes.
- Once our time on the screen matches the hands on the clock, press the right arrow button to save the new entry. You can then press the up arrow to return to the main screen if desired.
- Depending on how far off the hands are from actual time, the controller may wait or fast forward. The hands don’t move backwards, so if it is only 20 minutes ahead of actual time, it will be faster if the controller just waits for time to catch up to the time displayed by the hands. Once time catches up, it will automatically go back into run mode.
View our TEMPUS Clock Controller User Guide in pdf form
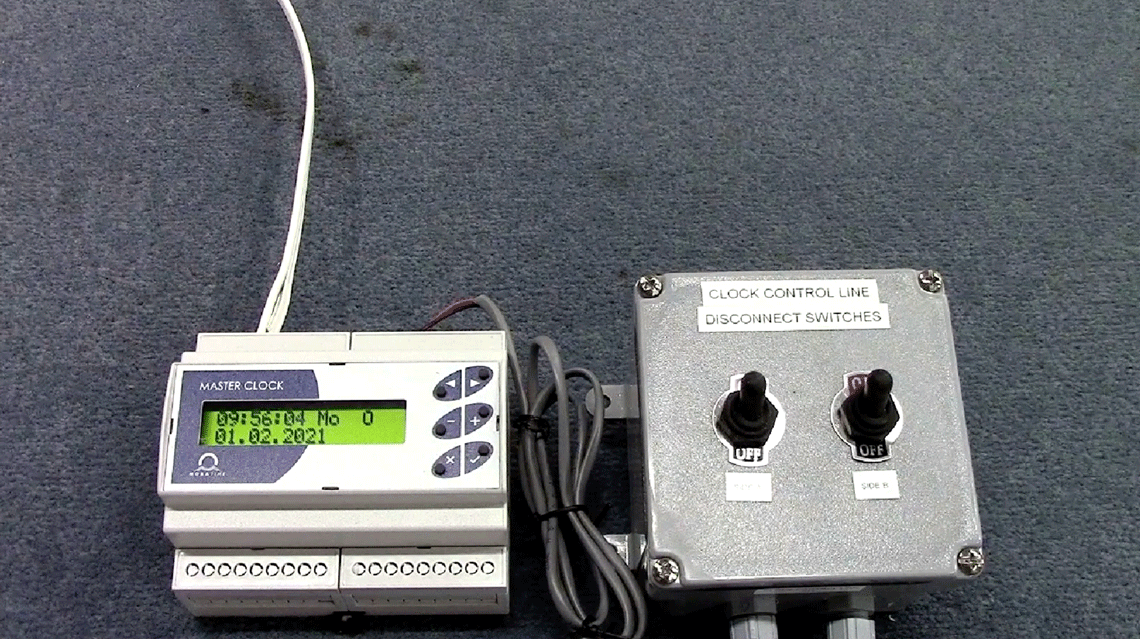
Using Disconnect Switches to Adjust Multiple Clocks
MOBATIME HN-50 HOW-TO VIDEOS
MOBATIME ETC-14 HOW-TO VIDEOS

Let us make TIME for you!
Get a Price in 24 Hours
REQUEST A QUOTE
